
Google Slides can be used for so much more than presentations. It’s perfect for creating digital activities such as graphic organizers, chat rooms, digital manipulatives, and more. In this tutorial, I’ll show you ways to enhance Google Slides activities to minimize the amount of time students spend fixing technical mistakes and maximize the amount of time they spend learning.
Example activities
Before we get started, these are some Slides activities I’ve done with elementary students in various grades that utilize some of the techniques I’ll describe below. There are more examples in this folder. To get the full experience, make a copy of each and try the activity.
Word sort

This word sort uses a master slide to lock down all the contents of the slide except for the words. The words are word art (instead of a text box) so that it’s easier to drag them without accidentally selecting or modifying the text inside.
Country facts graphic organizer

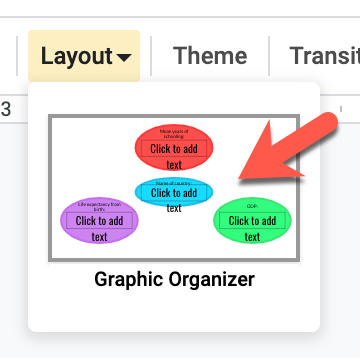
This graphic organizer is designed for students to collect data about a country or set of countries. Each time a new slide is created, it automatically contains a blank graphic organizer. If a text box gets deleted, it’s easy to bring back. Click the “Layout” dropdown at the top of the slide and then click the “Graphic Organizer” layout. Existing text boxes will not change, but missing text boxes will be restored.
Google’s master slides make it easy to set up these types of interactive activities. Just as you can set backgrounds and colors for presentations, you can add interactive elements to a master slide.
Techniques for activities in Slides
Now that you’ve seen what’s possible, let’s take a look at how it’s done.
Master slides
Master slides are used to create different slide layouts. You may be familiar with the “Layouts” menu:

Each of these layouts has its own master slide. The master is a template that contains the text placeholders, backgrounds, and other design elements. Masters are typically used to create themes for slideshows, but they can also be used to enhance Slides-based activities in class.
Why use master slides?
Master slides are ideal for activities for students. With master slides, you can:
- Lock down elements such as titles and directions so that they can’t be moved/deleted
- Add fillable text boxes that are easy to restore if deleted
- Create pre-defined layouts that automatically appear on new slides
How do I use master slides?
Check out this tutorial (open in new window) to get started with masters:
Here's an interactive tutorial for the visual learners
Locking objects down
Any text (other than placeholders - see below), images, or other elements you add to a master layout will be locked to the page. This means that students can’t move or edit these particular objects. This is useful for backgrounds, instructions, targets for dragging, and other elements you don’t want students to interact with. Don’t include items you’d like students to be able to manipulate in the master.
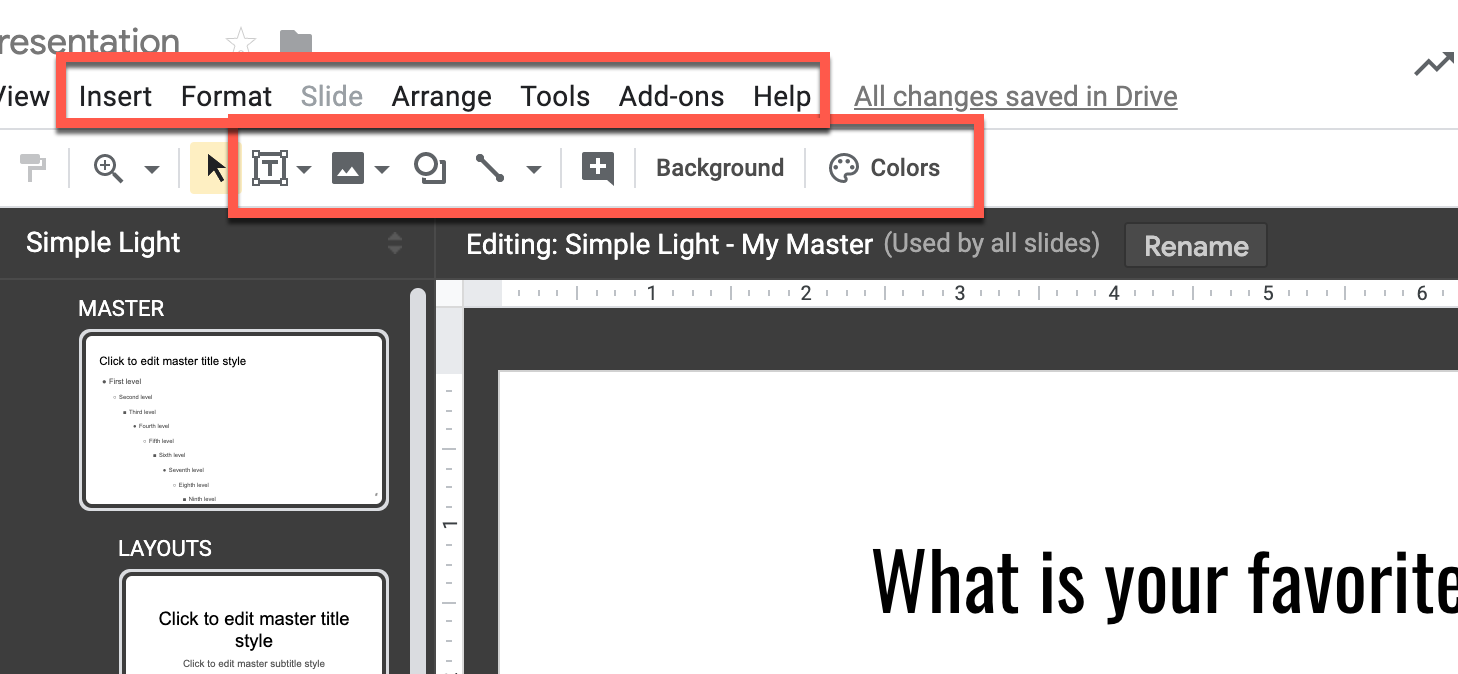
You can add these locked items to your master layout the same way you would add items to a normal slide with the toolbars and menus at the top of the screen:
If you’d like to add locked down text, click the text icon and choose “Text box”:

Adding placeholders
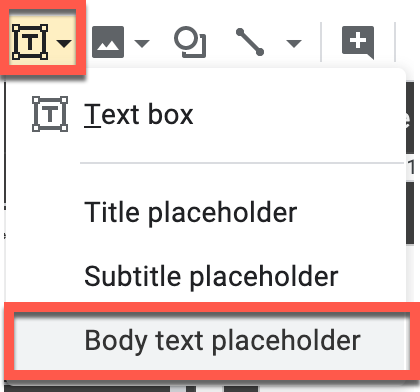
Placeholders are text boxes your students can fill in when they’re using the layout for a slide. To add a placeholder, click the text icon and choose “Body text placeholder”:
Click and drag on the slide where you’d like placeholder to appear. You’ll see a bulleted list that says “First level”, “Second level”, “Third level”, etc. These bullets look cluttered on the master, but will not display on the real slides for students. Although the bullets likely extend beyond the boundary of the box that contains them, students will only see the boundary box.
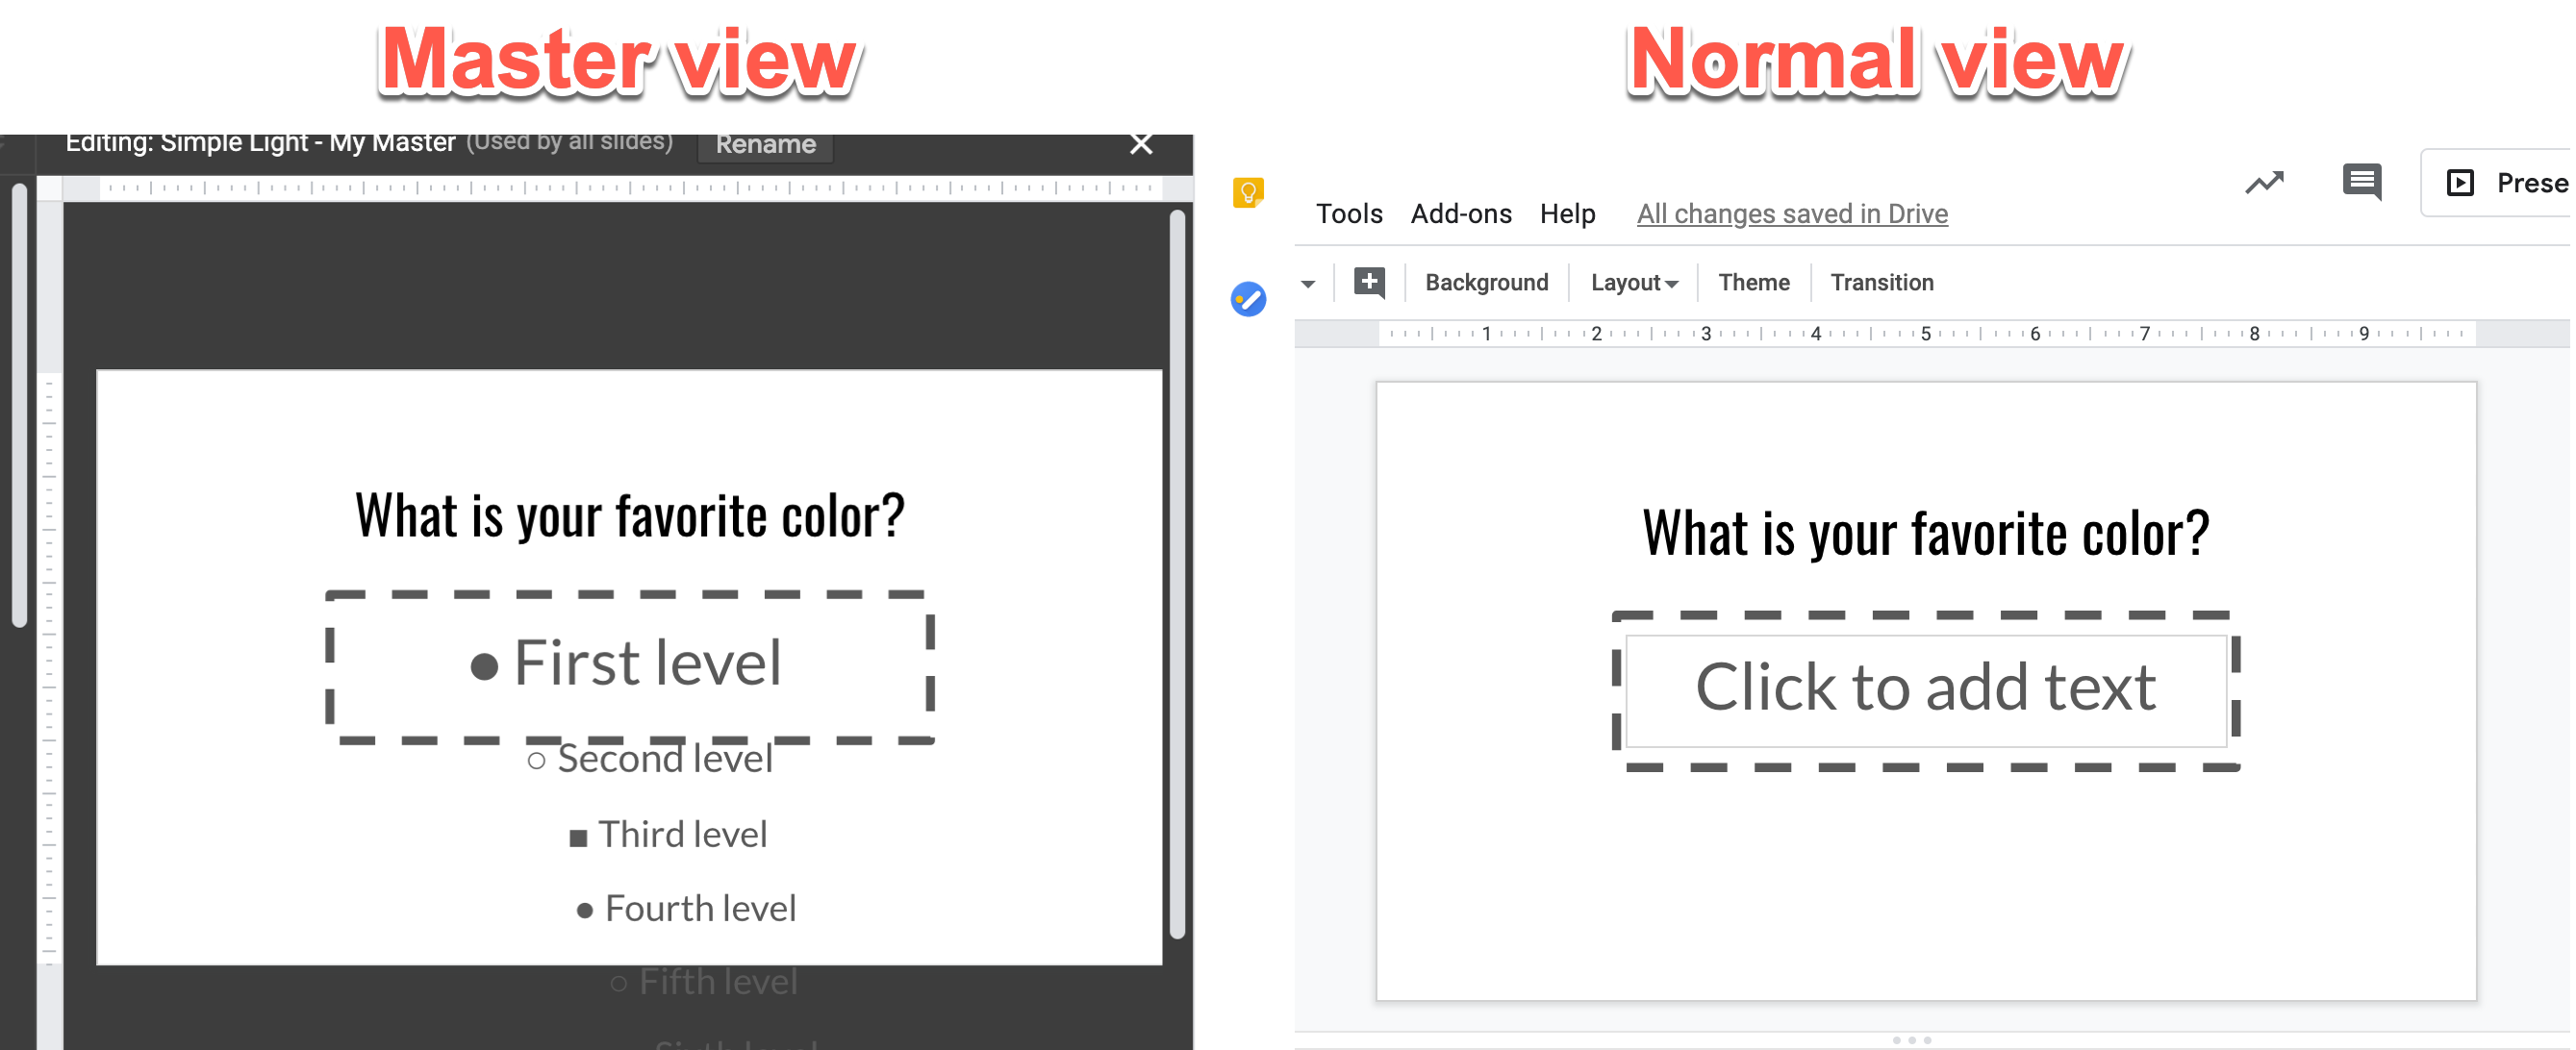
You can format the placeholder box just as you would format any other text (e.g. color, font, size, etc.). Because this is just a placeholder, you can’t change the words “Level 1”, “Level 2”, etc. Those are there to help you as you change the formatting. However, they won’t appear when the student views the slide. Instead, the box will display “Click to add text”.
If you want to type specific text on the master, use the text tool (described above) rather than the placeholder tool.

Applying a layout to a slide
Once you’re done designing your master slide(s), you (or your students) will need to apply them to a slide.
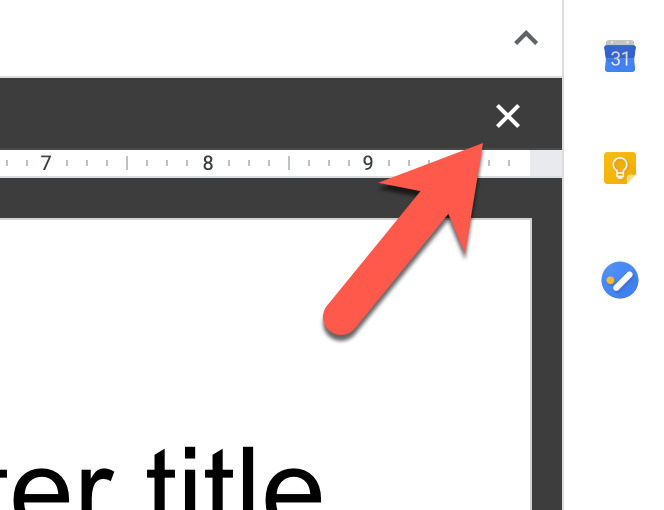
Before you apply the master to a slide, you’ll have to close the master view by clicking the X in the top right:
Applying to a new slide
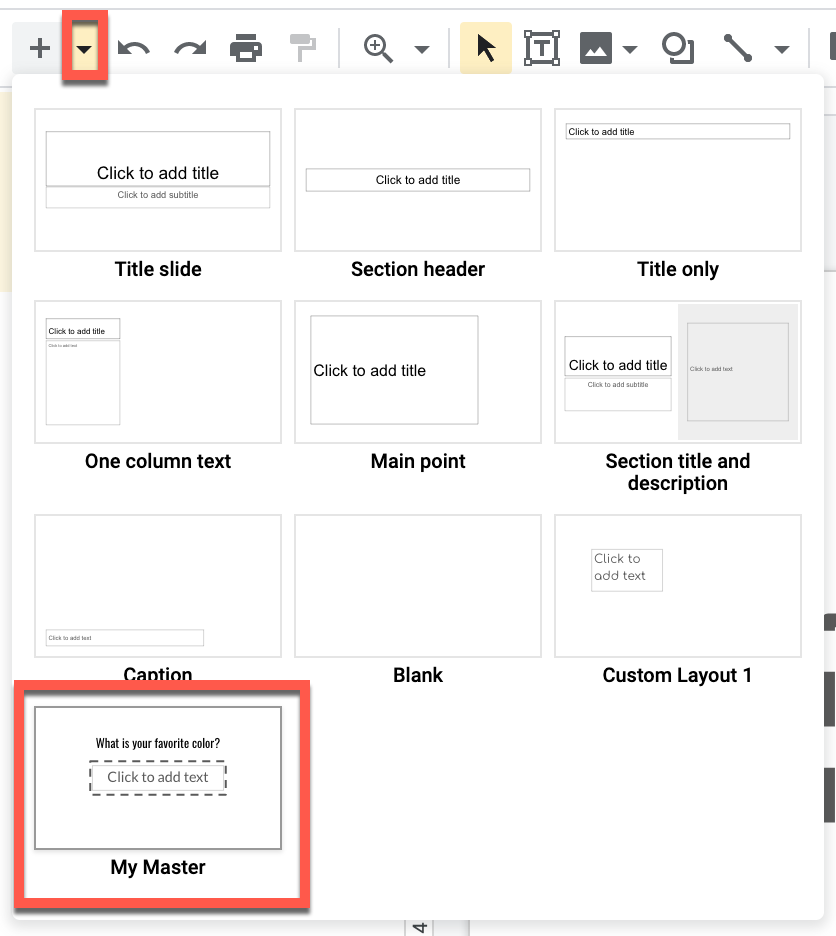
Click the “New slide with layout” button (triangle next to + button) and choose the master template you created:
Applying to an existing slide
If you want to switch to a different master or restore deleted placeholders, use this option.
Click the “Layout” button and choose the master template you created:

Sortable objects
For activities that require matching or sorting, the objects you want students to move should not be part of the master slide. Create a master slide that contains any elements you want locked down (such as directions or boxes into which the items should be placed) and apply it to a new slide. On this slide, insert whatever images, objects, or text you’d like students to sort.
Word art for sorting words
If you are doing a word sorting exercise, consider using word art instead of regular text. Clicking and dragging in the middle of a normal text box highlights the text instead of moving it:
For activities like word sorts, this can be frustrating for students. Luckily, Google Slides has its own take on word art that eliminates this issue. Slides’ work art looks exactly like regular text. However, it’s much easier to move by dragging:
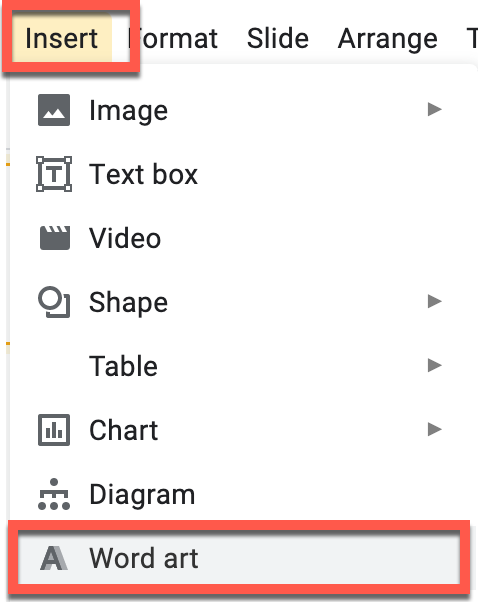
To add word art to your activity, click Insert > Word art:
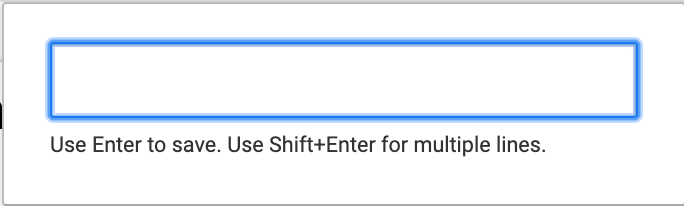
Type the word you’d like to use into the box and press enter to save. Press shift+enter to make a new line.
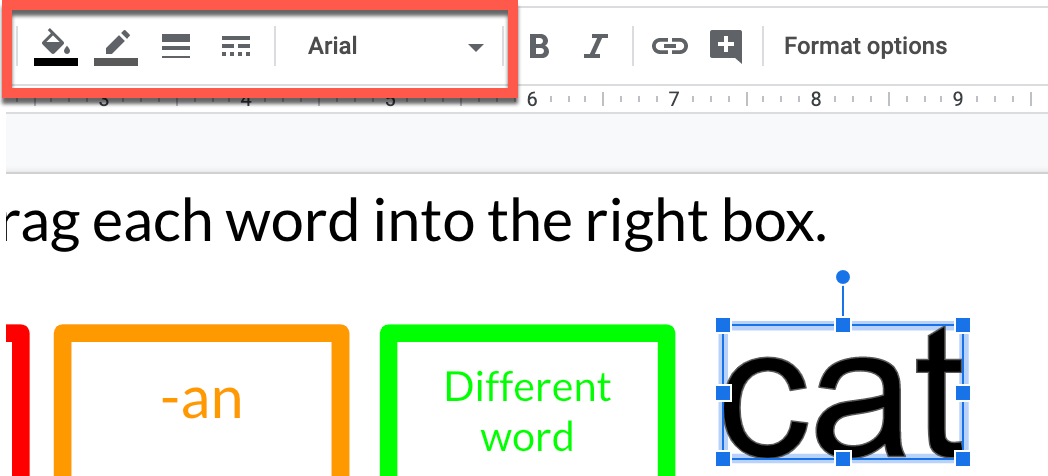
Use the tools at the top of the page to change the font, color, and outline for the word:
To resize the word art, drag the handles in the corner. Hold shift to maintain the right proportions while resizing:
To edit the text in word art, double click on it. If want to use word art multiple times and format it the same way, you can duplicate your original by pressing control + D (command + D on a Mac). Duplicate it as many times as you need and change the text so you don’t need to reformat each one.
Conclusion
Now that you’ve mastered Google Slides, the possibilities are endless. Feel free to use the examples above as starting points or create your own activities from scratch! If you put any of these techniques into practice, I’d love to hear about it on Twitter!


